How to Make a Easy Flower You Can Draw With Chalk
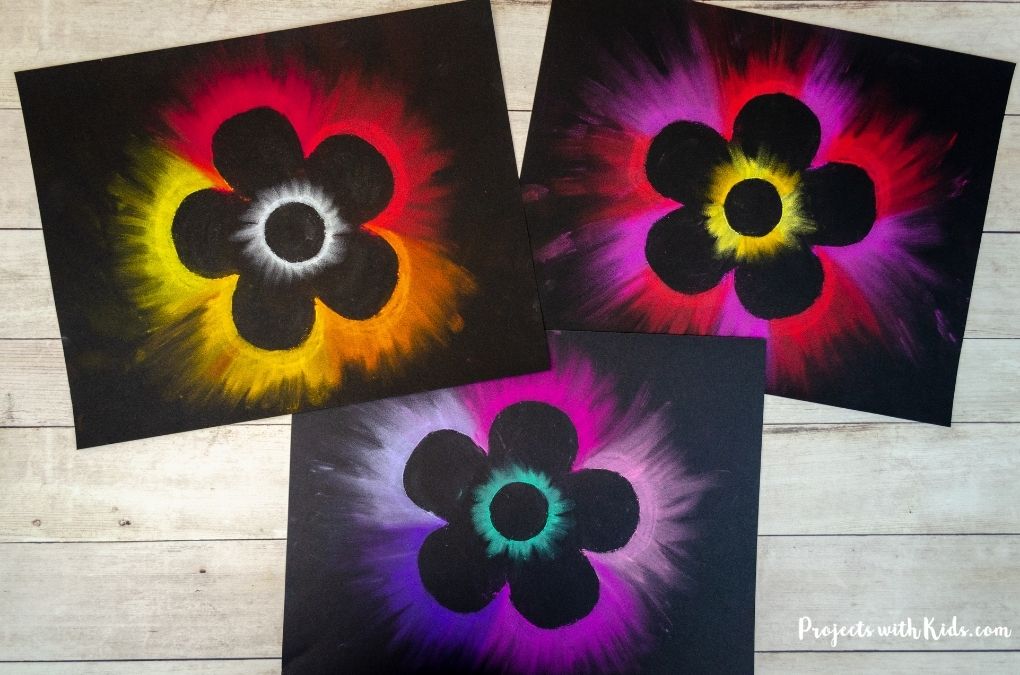
This colorful chalk pastel flower art for kids is an easy and fun art activity! Perfect for spring, summer, or any time of the year. Using chalk pastels on black paper makes the colors of the flowers really pop and stand out.
Pastels are so fun for kids to explore! Take a look at my collection of chalk pastel art for more creative ideas kids will love.
Tips for working with chalk pastels
Chalk pastels can be messy (but so fun!). There are a few things you can do to help keep some of the mess contained:
- Put newspaper down on desks or tables
- Put your project on a tray or a shallow cardboard box which will keep most of the mess inside the tray
- You can try doing your project outside
- Have lots of paper towels handy
- Once you are done with your project (or even halfway through if it gets really dusty), take it outside to gently blow or shake off the excess dust
- If you are using chalk pastels in the classroom and the kids are ready to take their artwork home, simply place the art between some newspaper to keep it from smudging and for easy transport.
For this project, I created a printable to make this craft even easier for you. This template is available to my email subscribers as part of my free printable resource library. Sign up to my email list below to gain instant access.
After signing up you will receive a welcome email with all of the sign-in details.
We have used this same flower template for a couple of different flower art projects. Take a look at these easy watercolor flowers that use the same template for another fun idea!
Create your own chalk pastel flower art
This post contains affiliate links. As an Amazon Associate, I earn from qualifying purchases. If you would like more information please review my privacy & disclosure policy.
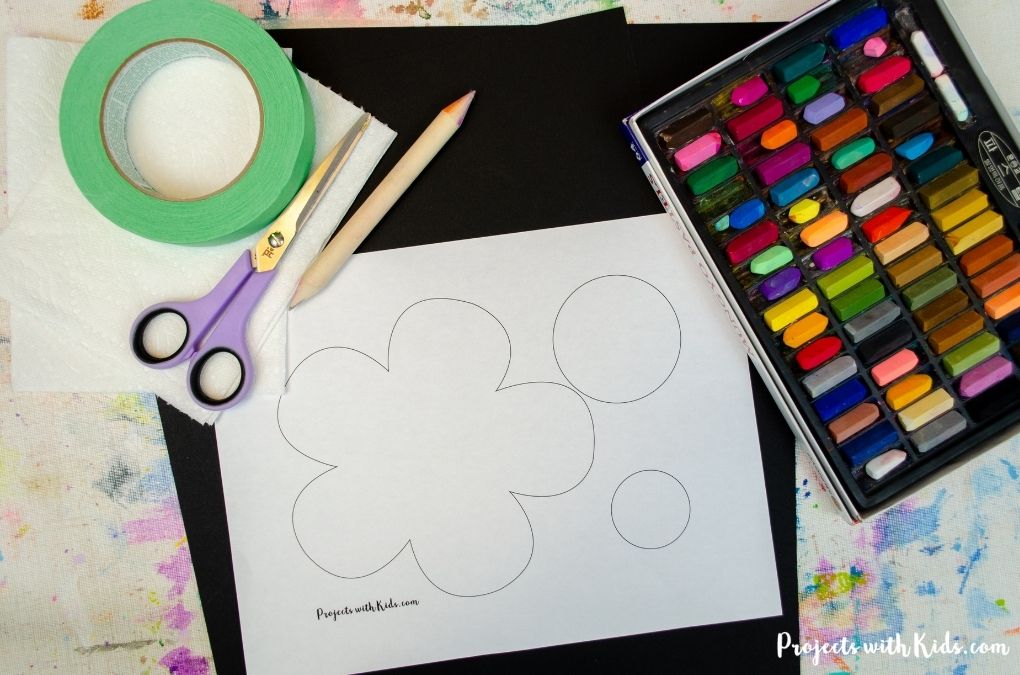
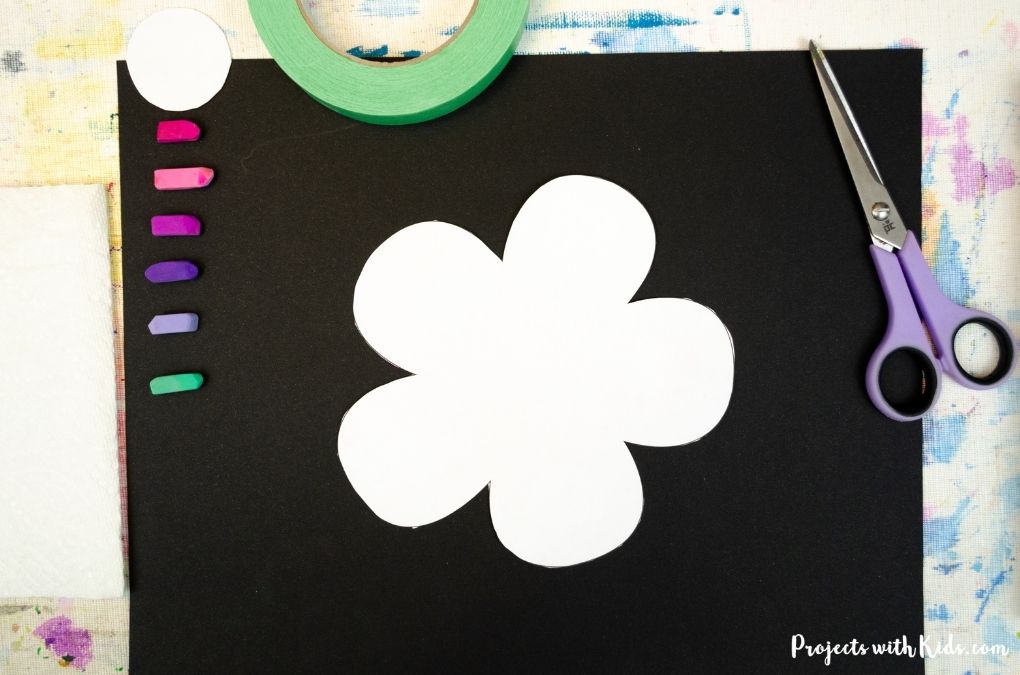
Supplies
- Flower template (printed on regular printer paper)
- Chalk pastels
- Black drawing paper or pastel paper
- Paper towels
- Blending stick or q-tips (optional)
Instructions to make your flower art project
1.Print out your flower template onto regular printer paper and cut it out. Cut out the smaller circle as well.
2. Tape the flower onto black drawing paper using painter's tape. I like to put tape on each petal to help it really stick down while drawing with the pastels.
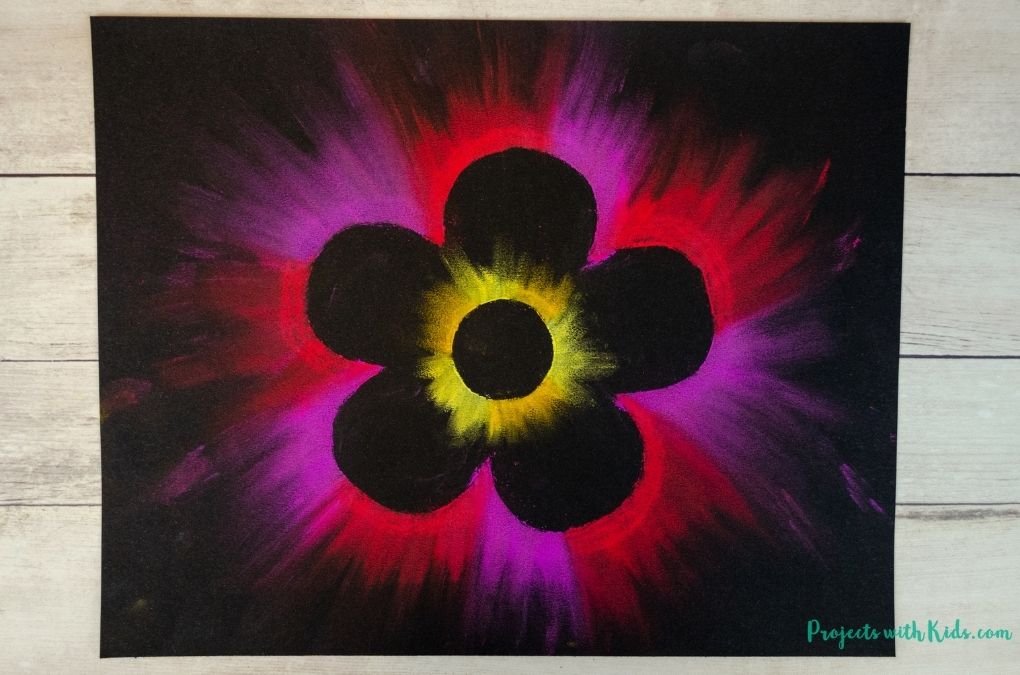
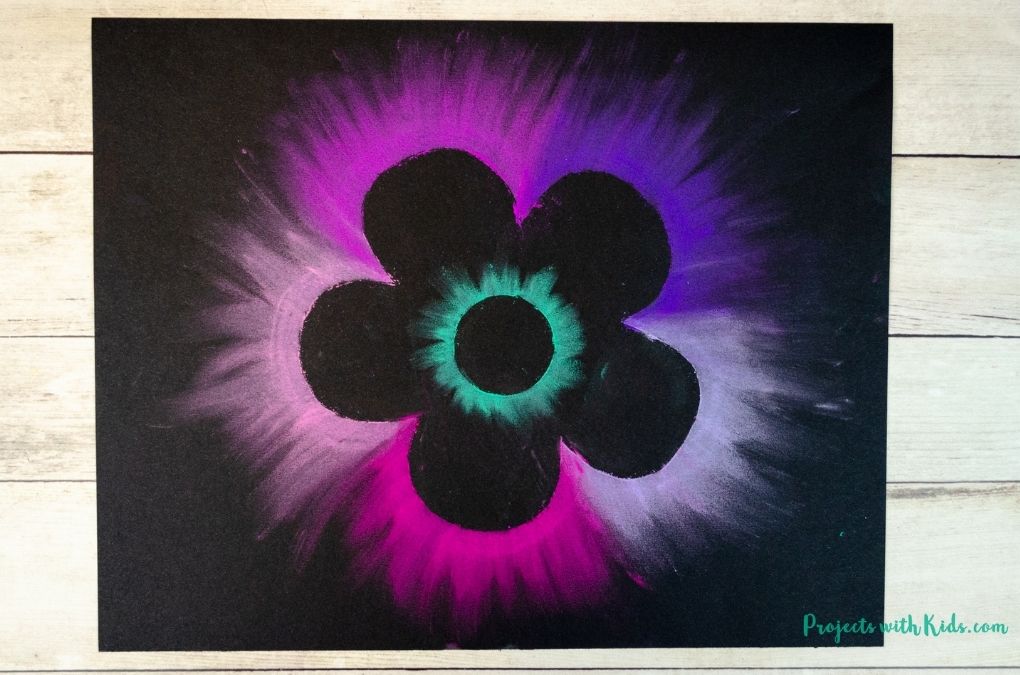
3. Choose the colors for your flower. Kids can choose one color for each petal, one color for the entire flower, alternate 2 colors per petal or any combination they like. This is a great opportunity for kids to make their flower art totally unique!
If you are looking for more spring projects, take a look at this colorful collection of spring art for kids!
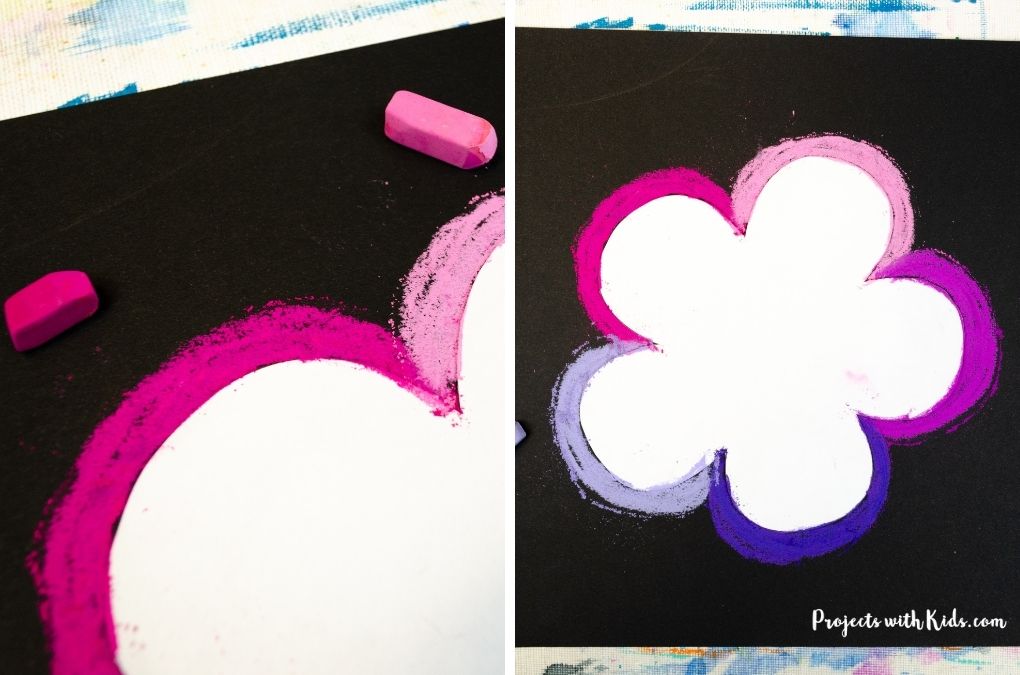
4. Color thick lines around the petals with your pastels. The thicker the lines, the farther the pastels will smudge.
5. Once you are finished coloring all the way around your flower, use your first finger or first two fingers to smudge the pastels in an outward direction.

Go all the way around your flower, smudging in an outward direction. Some kids might not want to use their fingers to smudge, they can try using a blending stick or even a q-tip or cotton ball.
This can create a lot of dust, so kids can take their paper outside to blow off any excess dust as needed.
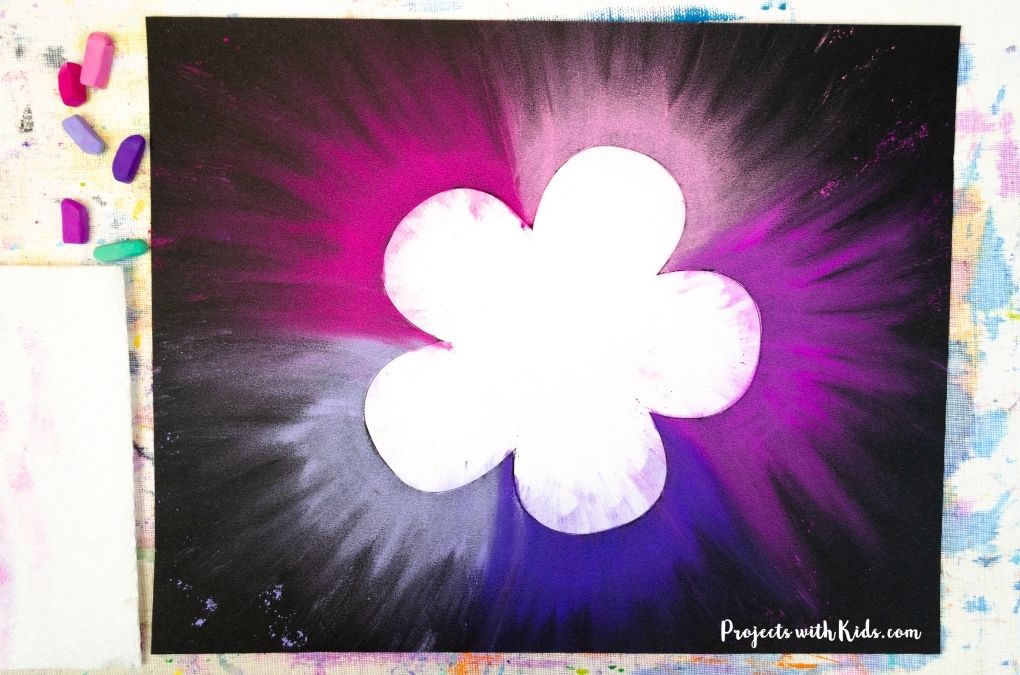
6. Carefully take off the flower template to reveal your design! If there are any smudges, you can clean that up with an eraser.
7. Now it's time to do the center of the flower. Tape down the smaller circle from the template to the center of your flower. Choose a color to color all the way around.
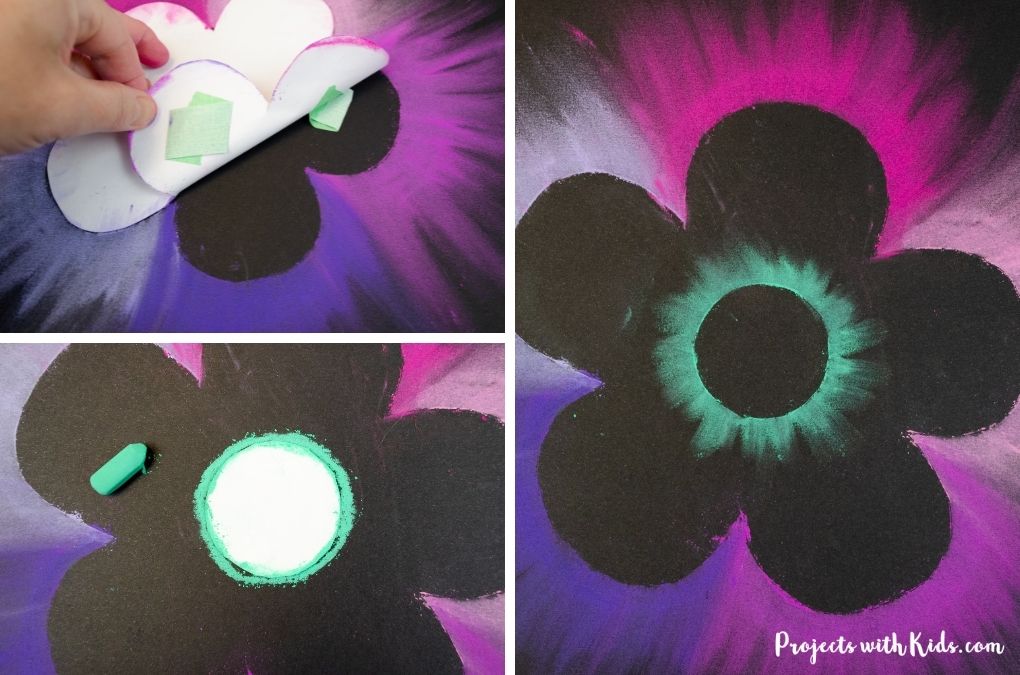
You don't want your lines to be as thick for the middle part. When you smudge the pastels you don't want the smudge lines to go too far into the petals.
8. Smudge all the way around the circle in an outward direction. Carefully take the template off to finish off your flower art project.
This chalk pastel flower art for kids is a fun project that kids will love to create!
Fill in the form below to gain access to my printable resource library!
After signing up you will receive a welcome email with all of the sign-in details.
More flower art kids will love
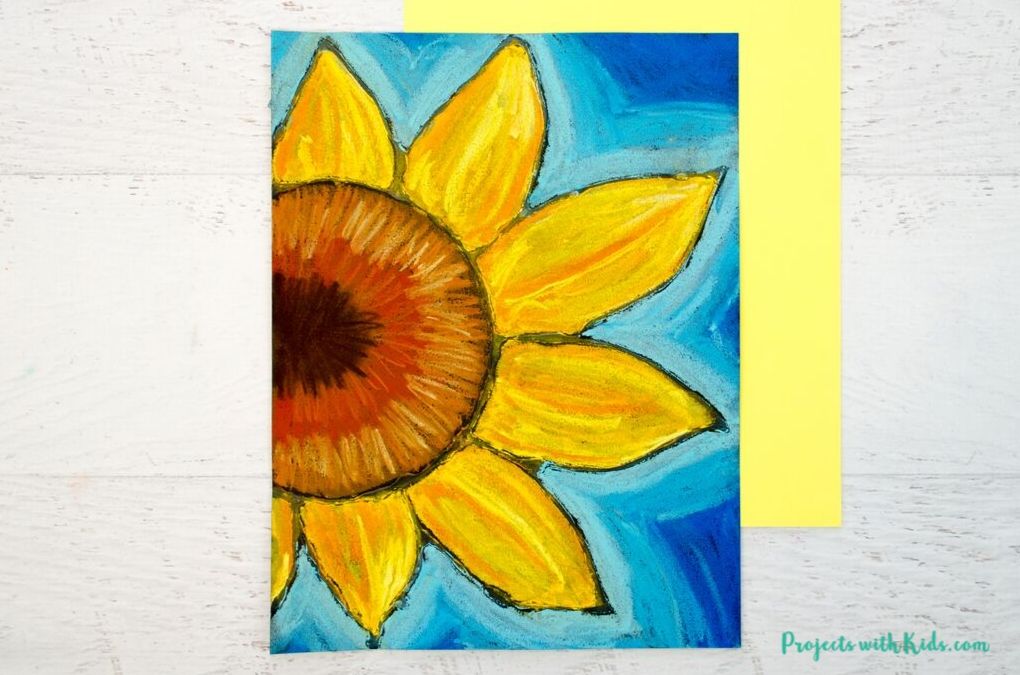
Beautiful Chalk Pastel Sunflowers
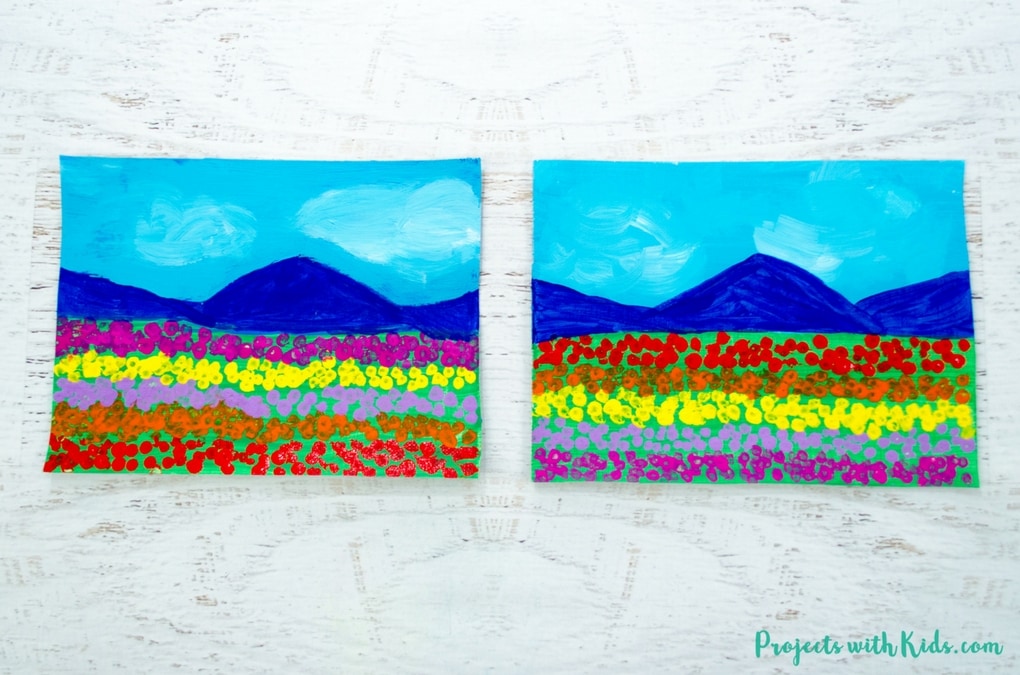
Field of Tulips Q-tip Painting
Follow me on Pinterest for more amazing project ideas.
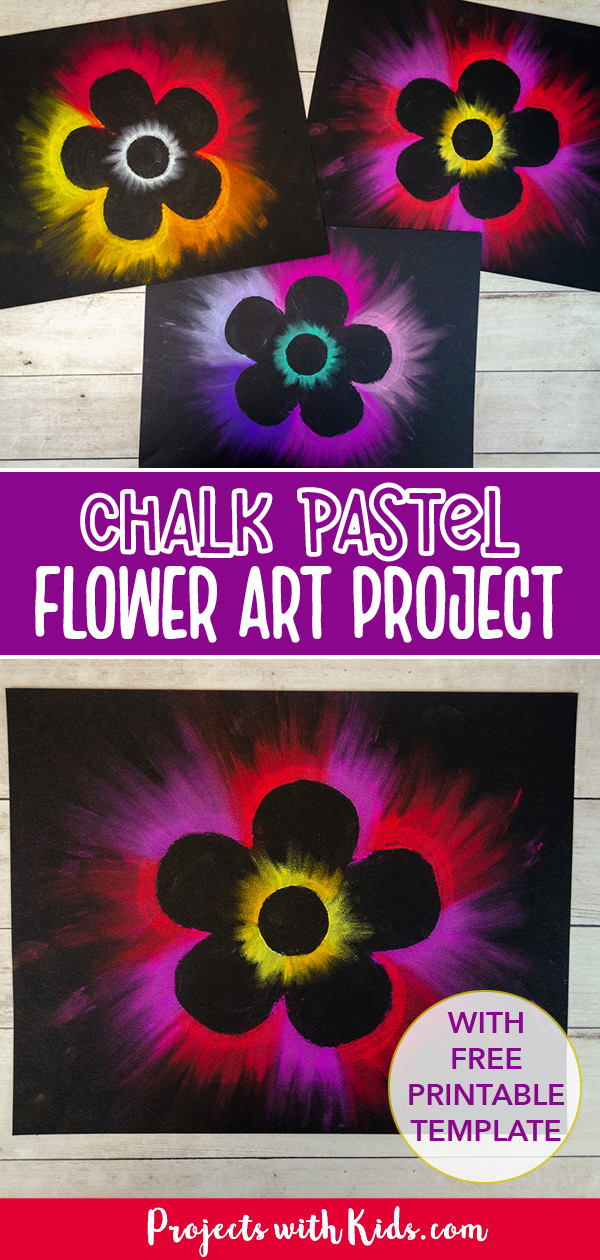
Pin this chalk pastel art for later
Prep Time 5 minutes
Active Time 30 minutes
Total Time 35 minutes
Difficulty Easy
Materials
- Flower template (printed on regular printer paper)
- Chalk pastels
- Black drawing paper or pastel paper
- Paper towels
- Blending stick or q-tips (optional)
Instructions
- Print out your flower template onto regular printer paper and cut it out. You will also need to cut out the smaller circle.
- Use painter's tape to tape the flower down to the center of your black drawing paper.
- Choose your flower colors and color thick lines with your pastels around each petal. The thicker the line, the more the chalk pastel will smudge.
- Once you are done coloring around the flower, use your first finger or your first two fingers and smudge the pastels in an outward direction. Continue smudging all the way around the flower.
Some kids might not like to use their fingers to smudge the chalk pastel, they can try using a blending stick, q-tip, or cotton ball instead. - At this point, there will be quite a bit of pastel dust so you can take your paper outside and blow off any excess. Carefully take off the flower template.
- Tape down the small circle template in the middle of your flower. Draw around the edge with a chalk pastel color of your choice. You don't want the lines to be as thick for this part.
- Smudge your pastel in an outward direction with your fingers (or blending stick, q-tip, or cotton ball).
- Carefully take off the circle template to reveal your completed flower art project!
robertsonadlyinit.blogspot.com
Source: https://www.projectswithkids.com/chalk-pastel-flower-art-for-kids/
0 Response to "How to Make a Easy Flower You Can Draw With Chalk"
Post a Comment